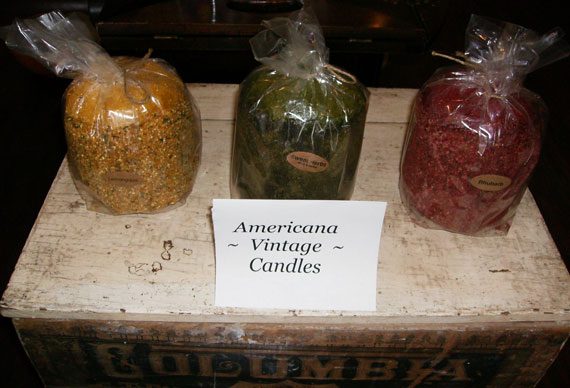
Americana candles arrived today! New flavors are Rhubarb, Sweet Herb and Lemon Grass.
www.KeystotheAttic.com

Americana candles arrived today! New flavors are Rhubarb, Sweet Herb and Lemon Grass.
www.KeystotheAttic.com
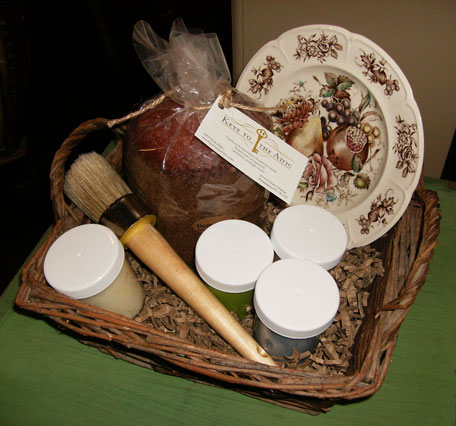
Mother’s Day is around the corner and what nicer way to say “Thank You, Mom” than a gift basket with a delicious Americana candle and CeCe Caldwell’s 100% natural paints & finishes.
We can provide a basket or use one that you already have.
www.KeystotheAttic.com
This was just an old wood mirror – that a billion people have had over a dresser at one time or another.
I slapped on two coats of CeCe Caldwell’s Vintage White. Distressed. Applied clear wax. Buffed. DONE!
I’d love to make the directions more complicated … but that’s all there is with CeCe Caldwell’s Paints & Finishes.

Old Mirror redone using CeCe Caldwell’s Vintage White and clear wax ~ Keys to the Attic
A couple of weeks ago, I started an upholstery class at the Portside Arts Center. I am so excited about this for a few reasons. First, I’ve always wanted to learn how to do upholstery. In my flea market and yard sale travels, I come across so many stools, chairs and small love seats that I love and can just envision in my house if only it were cleaned up. Second, I need to clean up and reupholster these very same items that I ended up buying anyway for the time that I learned how to reupholster (trust me, there’s lots of stuff down there). Finally, it thrills me to be able to pick out fabrics in colors and styles that I like and will blend in my rooms – this makes the possibilities endless.
Much to my delight, Portside Arts Center offers upholstery classes at an extremely attractive price and … they’re right down the street from my house! So, I thought that I would take you along on the journey of my 10 week class and, as much as I can, share with you my experience and progress.
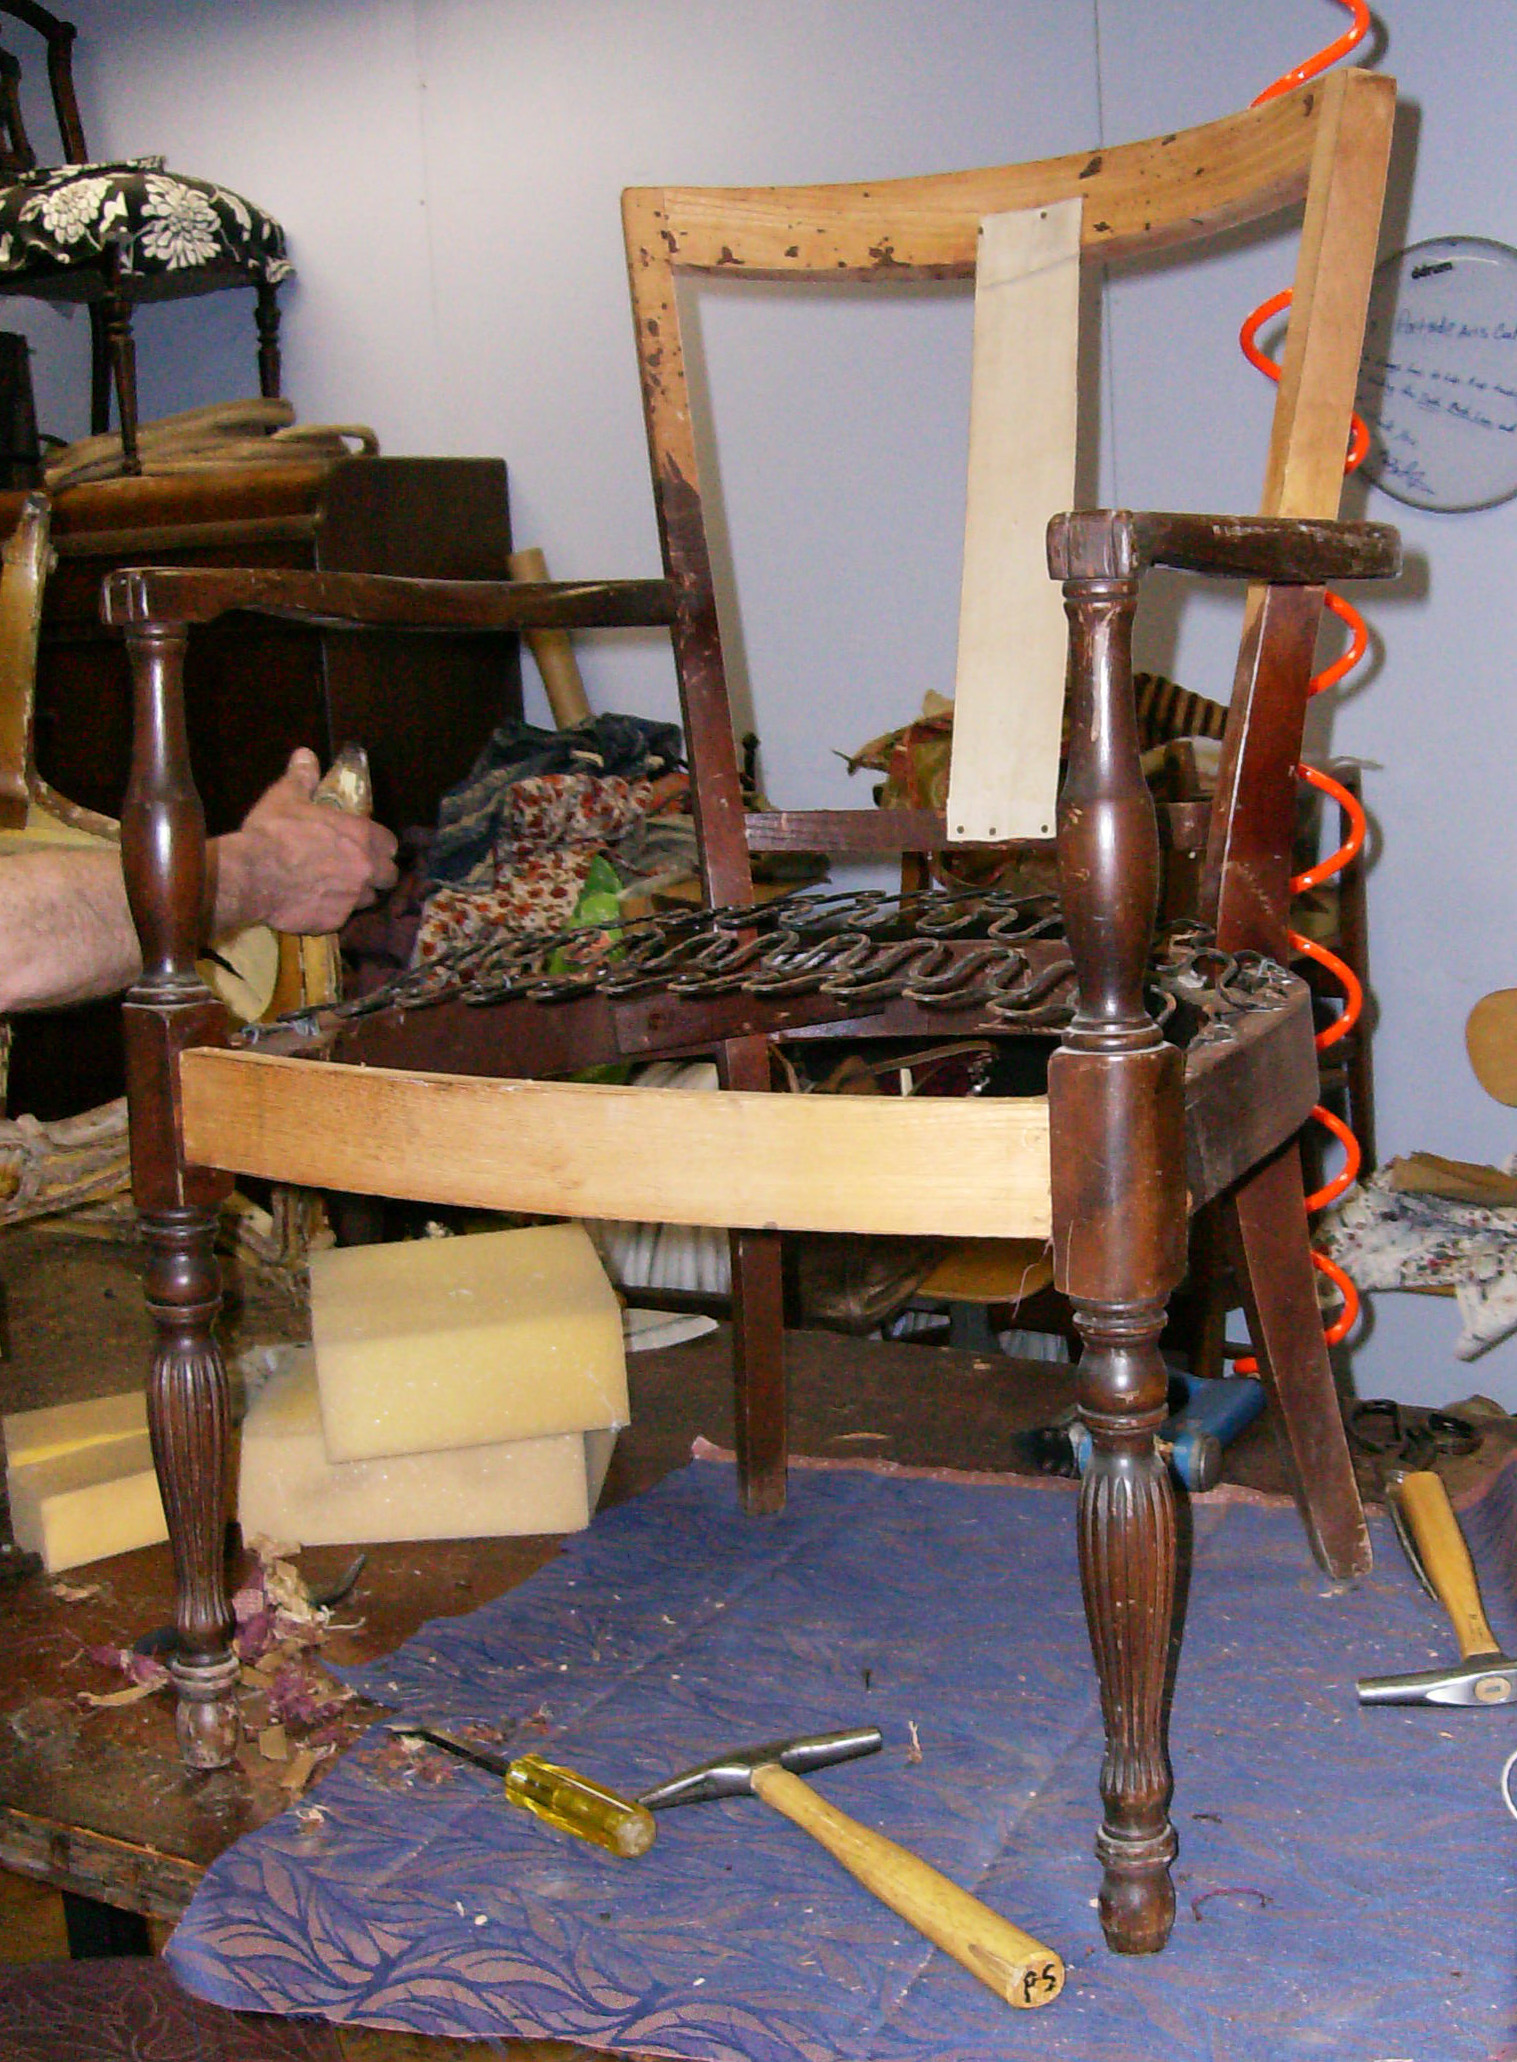
This is the chair that I decided to reupholster. This chair has been in my mom’s basement forever – as you can clearly see.
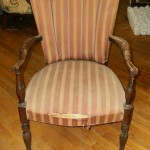
Remember that I started this class two Tuesdays ago, so the first two classes consisted of completely stripping the chair of its fabric, stuffing and support straps – right down to the frame. This meant removing all of the nails, tacks and staples that was holding all of this stuff together. Our classes run from 6pm until 9pm and, for most of us, it took the entire first class and part of the second to do this. Lots of muscle work!
This is my “naked” chair. You can see the zig zag springs in the seat section that are used to support the stuffing that is used for the seat. There were four springs there, but two of them had lost their uumph and will need to be replaced. I forgot to take a picture of the old stuffing that I ripped out of the chair, but I can tell you that it was layers of straw, cotton and horse hair stuffing. And it was old and gross.
Next week I will share with you my next steps and I will take a picture of the fabric I bought to recover my chair.
Before I take off, I want to give a shout out to Portside Arts Center! This is a fantastic asset to our neighborhood and I am so lucky to have them 5 minutes from my house. They are a non-profit, 501 (c)(3) community-based educational arts center run by a lovely woman named Kim Creighton. The Portside offers more than 60 different music, visual and performing arts classes to children, teens and adults. Check out their website at: www.portsideartscenter.org
Note: Where the edges of brown look like they have smudged white paint on them – they don’t. Again, it’s because of my very sad photography skills.
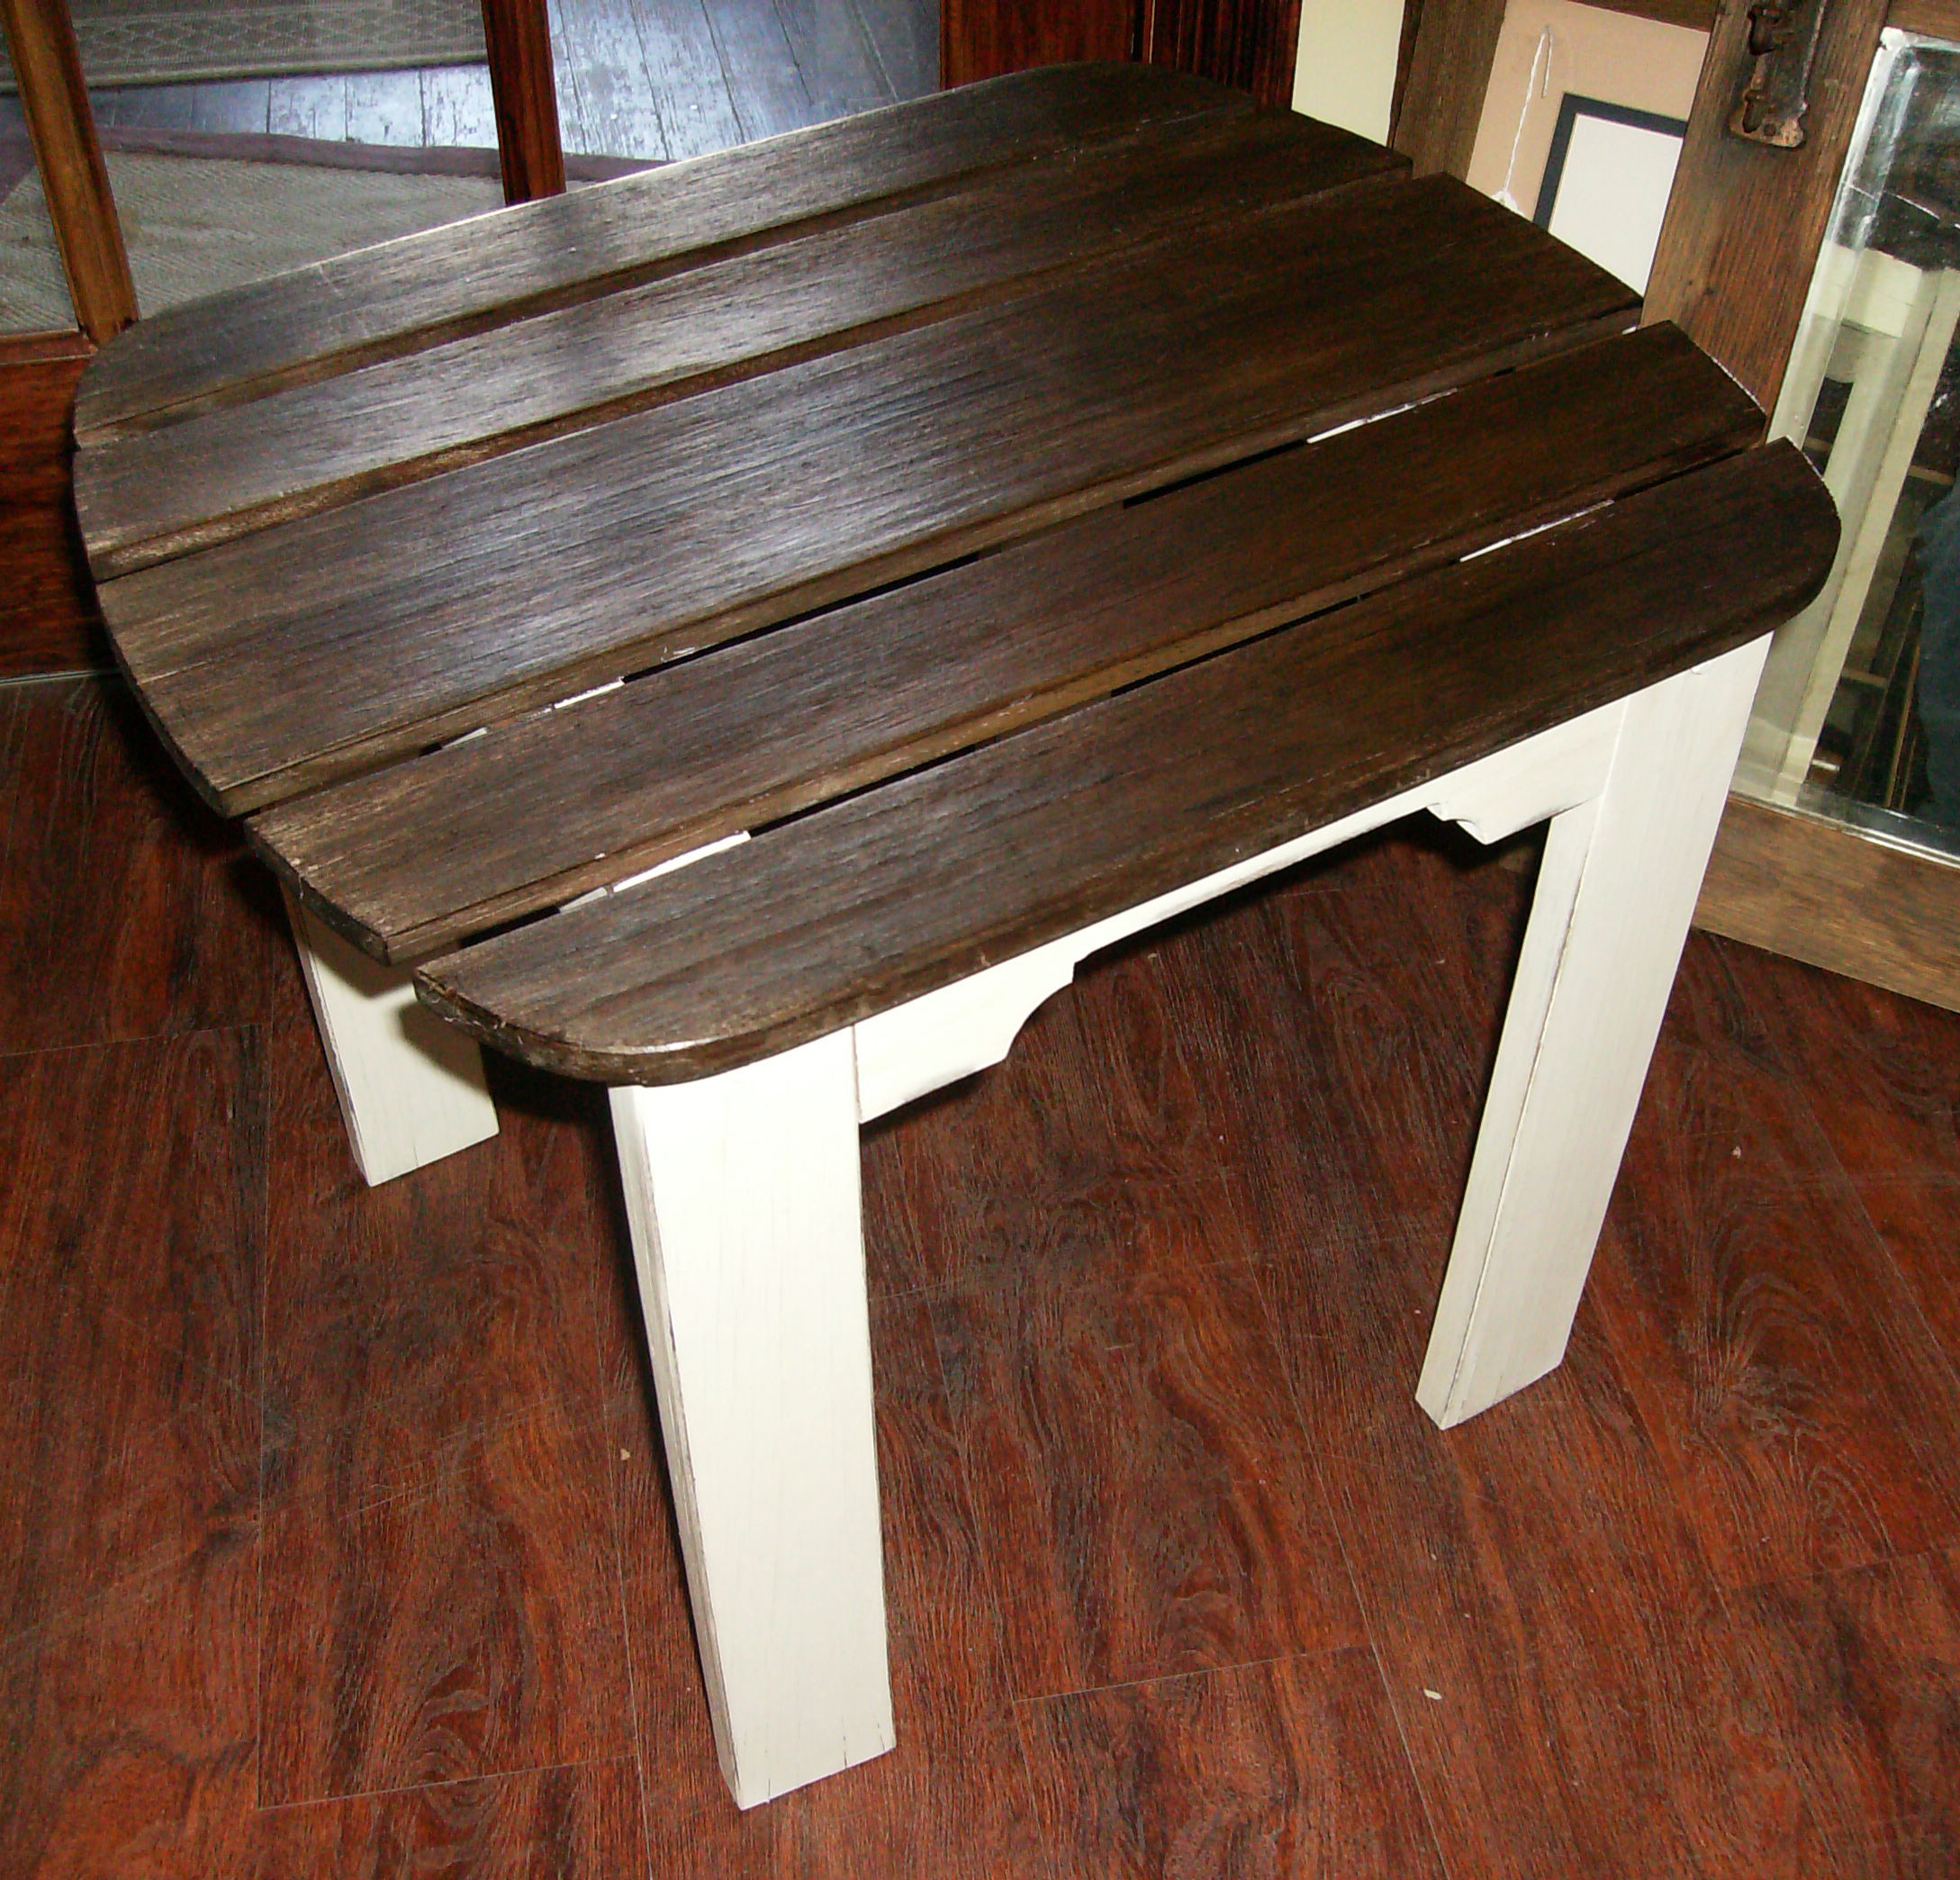
OK … so, don’t kill me … but it looks like I forgot to take a “before” picture of this table. I could have sworn that I took a picture of it months ago when I first brought it into the store … so maybe the secret cyber picture thief took it. Either way, if I come across it I will post again with a before/after shot.
Moving on, this is table that I picked up at a yard sale last year and I immediately envisioned it fixed up and sitting in my yard, or on a porch or deck. The table is wood, but the wood was dried out and looked really sad and tired. I knew, if possible, I wanted the top of the table to have a natural wood look with the sides and legs painted white and distressed for that shabby chic/cottage style look.
First, I rubbed (using an old t-shirt) the top and underside of the table with hemp oil. It took about 2 coats to revive it because the table was really dehydrated, so it slurped it right up. It made the top look happy and perky!
Then I painted (two thin coats) the legs and sides using CeCe Caldwell’s Vintage White. Once the second coat dried I did some light distressing. As I usually do, I started with all of the edges. Once the edges were done, I decided that I liked the look as it was, so I left the distressing at that.
For a finish I used two different products. I used CeCe Caldwell’s Satin Finish on the top and underside – simply because I wanted those areas to cure a little faster since, more than likely, the top of the table will be heavily used. Then, I used CeCe Caldwell’s Clear Wax on the all of the area that was painted white. What ended up happening (which I really, really liked) is that the top had a little bit more of sheen to it, while the white parts of the table had a very muted sheen.
So, this my indoor/outdoor end table. Come on in to the store and check it out!

Wax brushing and the drill buffing brush shipment arrived today, so we are stocked up. Pricing for the brushes is as follows:
2 in. brush – $25
1 1/2 in. brush – $20
1 in. brush – $16
3/4 in. brush w/ short handle – $14
drill buffing brush – $25
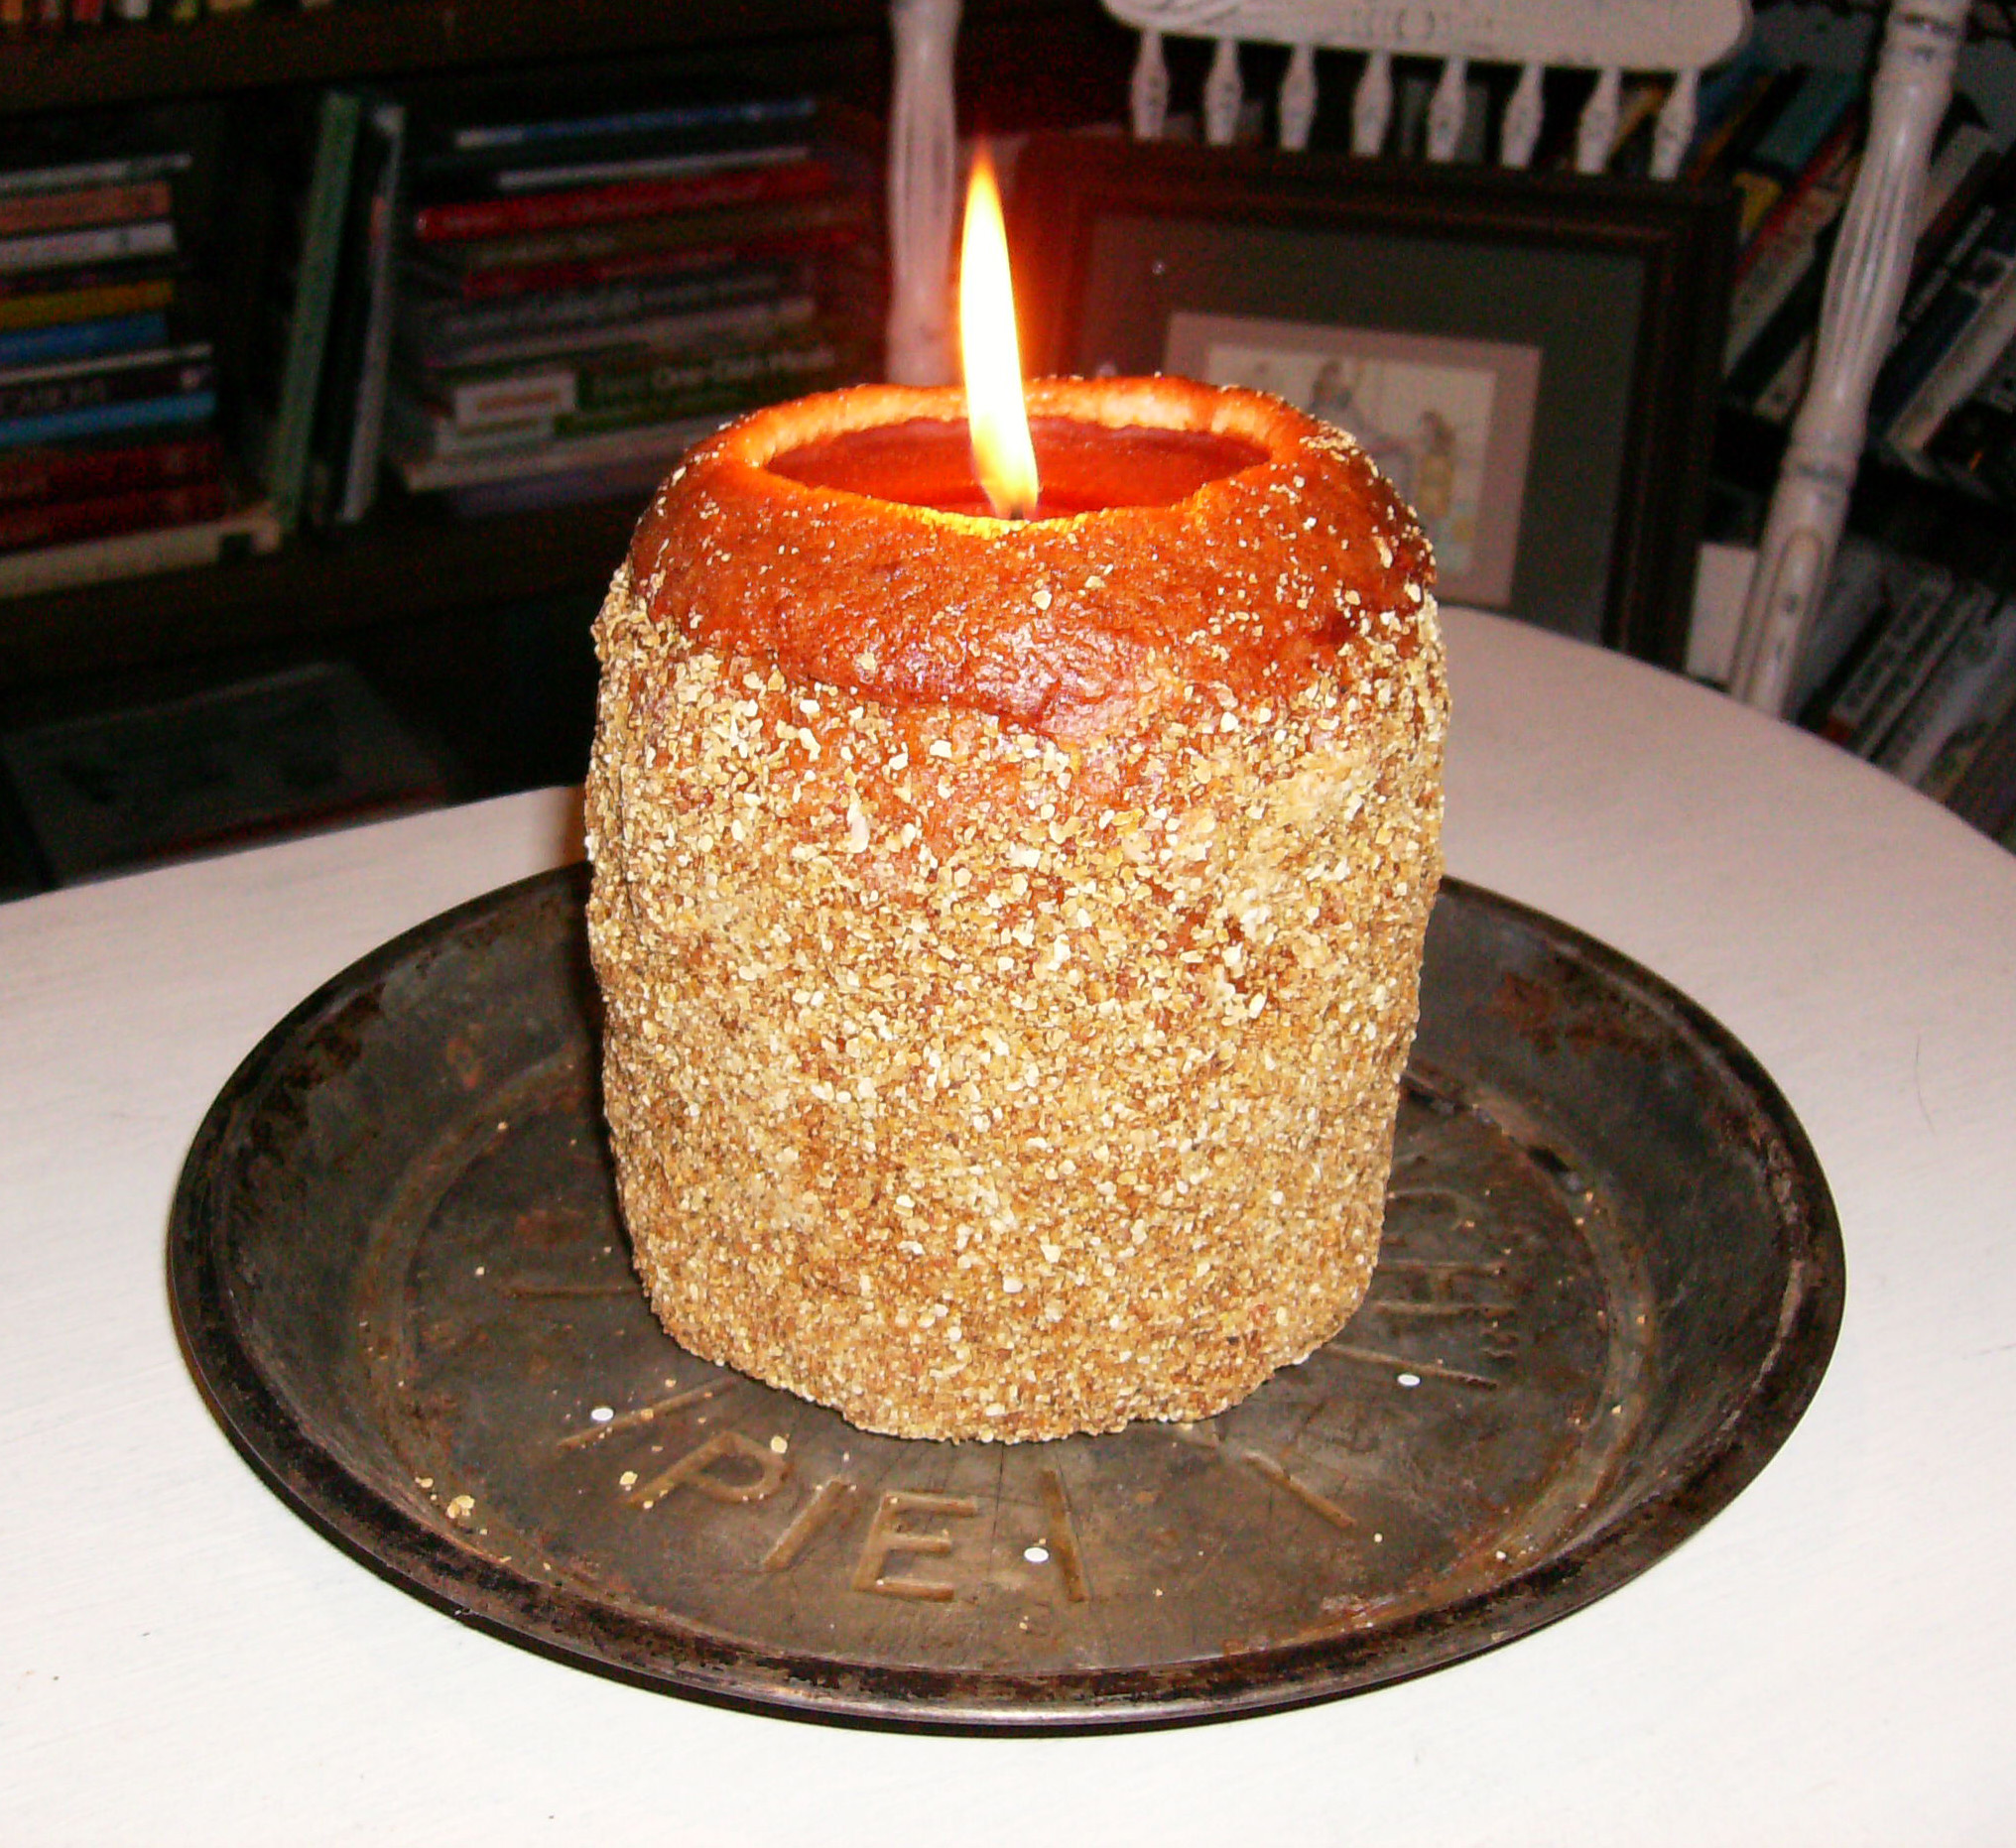
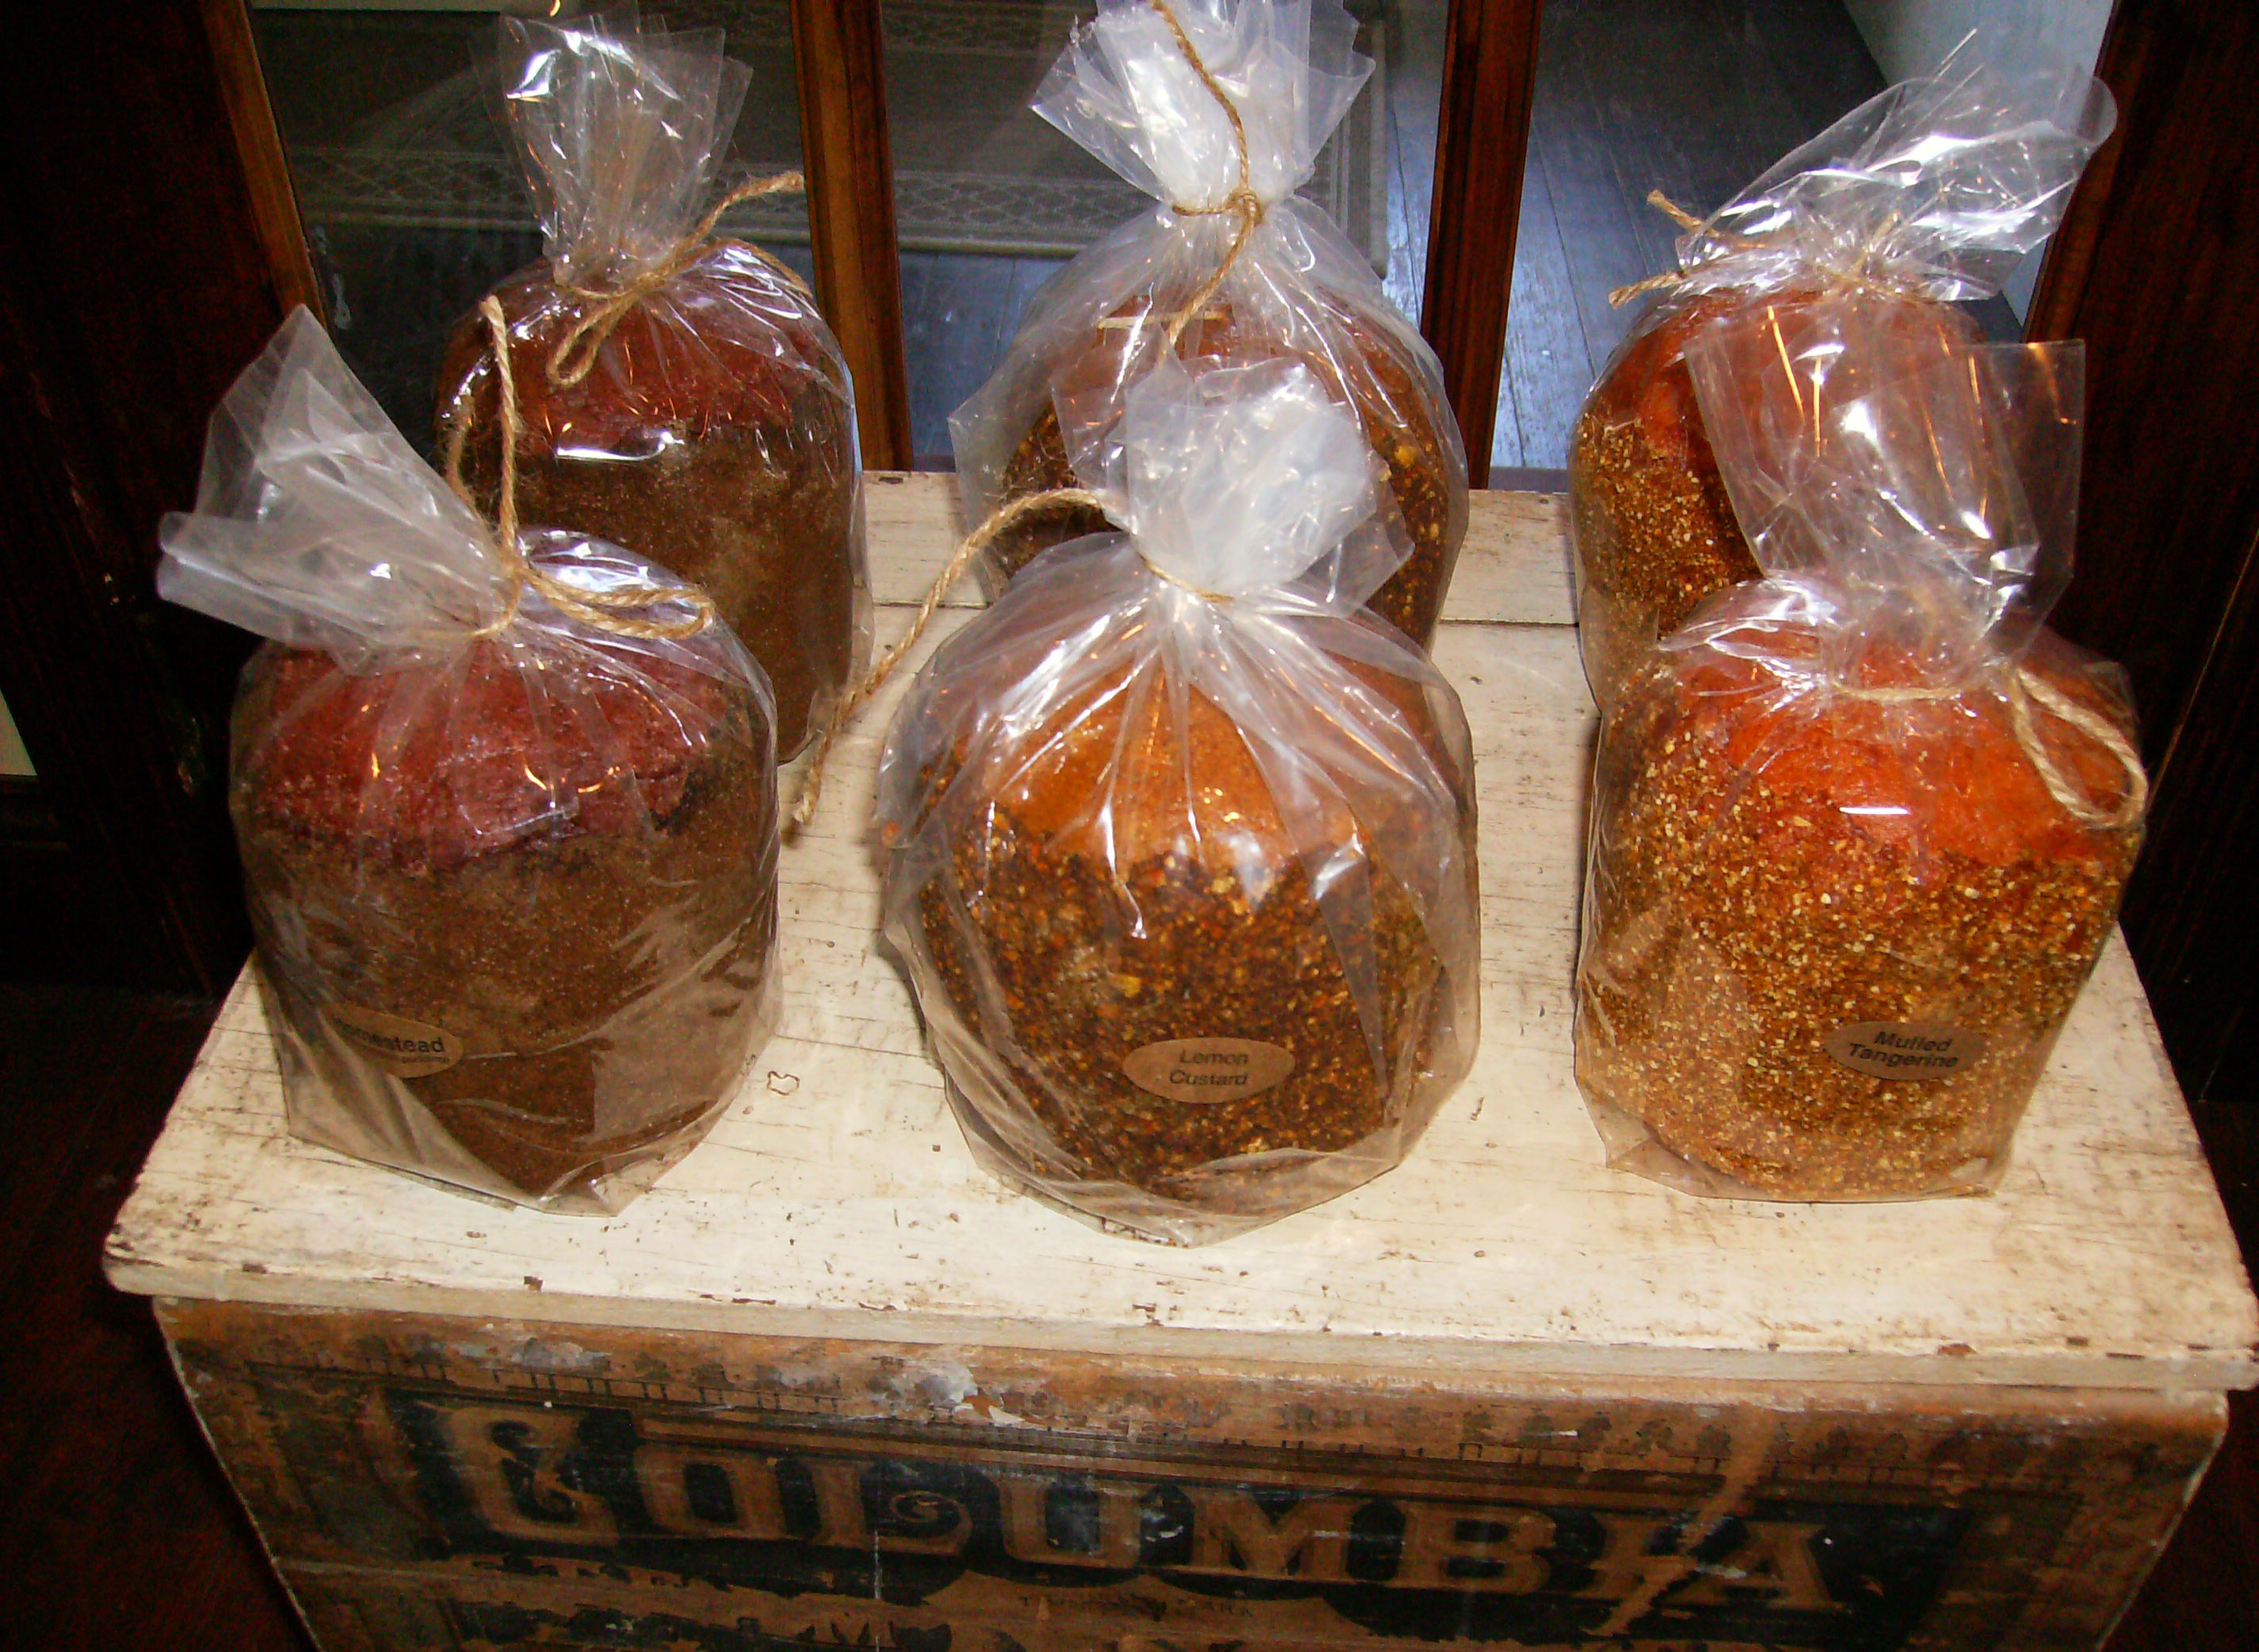
Americana Vintage Candles at Keys to the Attic
Keys to the Attic is now carrying Americana Vintage all natural candles. The three flavors that we have are: Homestead, Lemon Custard and Mulled Tangerine.
Are you ready for pure heaven? These candles are the very best around…and I have tried them all! They are made with only the purest of oils (not artificial.) They burn evenly, smell insanely delicious and make wonderful presents.
These handmade candles are created in the USA by an artist named Sandra and her husband. Her husband pours them and then the base is hand dipped 7 times by Sandra and her son. The candles are then rolled in natural spices and scents.
These candles burn for 155 hours and make fantastic gifts (or, if you’re like me … a gift for myself). I used to be a devoted Yankee candle fan, but I think these are my new favorite!
Come on into the store and take a whiff – I always have one burning 🙂
Americana Vintage Candles at Keys to the Attic