Category Archives: CeCe Caldwell Paints

www.KeystotheAttic.com

Before & After End Table

It’s amazing what a little bit of paint can do.  Here is a table that I picked up at a yard sale for a few dollars.  Super sturdy, but not very pretty.  With just a little bit of paint and imagination, look at what you can do to upgrade and make it pretty.  I took off the old handle and replaced it with the stylish knob. This only took me a day to complete.  Come visit us at Keys to the Attic to see other pieces that we finished and we’ll teach you how to do the same thing!


CeCe Caldwell Paints & Finishes SALE!!

What are you doing in January, February and March now that the holidays are over and we look forward to Spring??  Now is a great time to pull out all that stuff that you bought at last year’s yard sales and flea markets and paint!

And to motivate you, all of our CeCe Caldwell’s products are on sale.  Paints will be sold at $28 a quart or $6 a sample pot.  And the great thing is that we do ship!!  Please call us prior to visiting to ensure that we have what you’re looking for:  215.327.3451.

Soon to Be Discontinued Paint Colors

Just wanna give everybody a heads up that I was told today that CeCe Caldwell will be discontinuing the following two paint colors:  Memphis Blue and Portland Rose.  I currently have a limited supply of both colors in quarts and in samples, but once I am out they are gone and I will not be replenishing them at Keys to the Attic.  Just FYI 🙂


Before & After ~ Santa Fe Turquoise

Here’s another great upcycle from one of my favorite customers:

“My daughter bought this solid wood dresser at a thrift store for only $30.  We cleaned the dresser, removed the lamb and the knobs, painted just the edges with Virginia Chestnut and the rest of the dresser with Santa Fe Turquoise.  We then gently “distressed” the edges using a damp cloth to wipe away some of the turquoise so the brown peeked through, applied clear wax, and attached new knobs.  She now has a gorgeous “new” dresser in her bedroom.  I am sorry my photography is not good, but the dresser is absolutely beautiful.
Your paint customer, Noreen ~ ”

www.KeystotheAttic.com

After

www.KeystotheAttic.com

Before

Before & After for Display

I just took a quick shot of a table that I did for a Before & After display at Keys to the Attic.  I had a pair of identical tables (in identically beat up shape) and I painted one with Myrtle Beach Sand – now one of my favorite colors – and distressed.  I have them in one of my display windows to show everyone what a difference a simple paint job can do.  Check it out.

www.KeystotheAttic.com

New CeCe Caldwell Finishes Are Here!

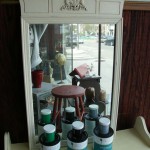
A couple of weeks ago, I went to a CeCe Caldwell’s Paints workshop, in Fall’s Church VA, where we got to meet CeCe, play with paint and learn about the new finishes that are now part of her fantastic line. Lots of fun!

Shout Out – to Theresa, from Stifel and Capra, for being such a gracious host. Check out her facebook and website to see the phenomenal items she has … believe me, she is quite the artisan.

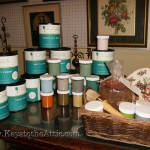
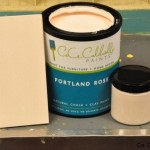
So, I am now happy to tell you that I have the new finishes at Keys to the Attic for everyone to enjoy.  (See below the image for a description of each one.)
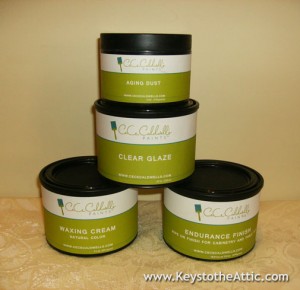
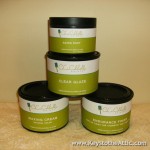
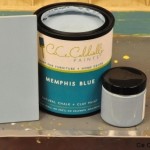
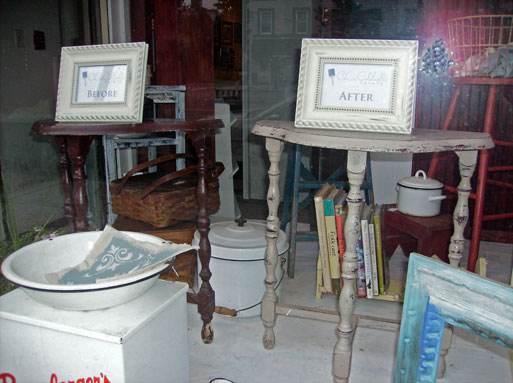
www.KeystotheAttic.com


Aging Dust
The Aging Dust is a fine micro-powder, made from natural pumice and natural pigments, that is used over clear wax to produce a truly authentic aged look.  (Instructions for use)
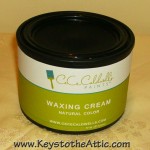
Waxing Cream
The Waxing Cream is an alternative to Clear Wax that produces a little more of a shine, while using less product to attain it.  This wax penetrates deeper into the wood, ultimately requiring less buffing than other waxes.  (Instructions for use)
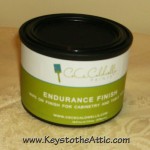
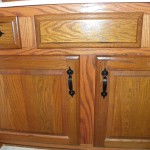
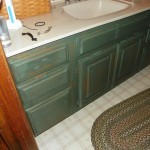
Endurance Finish
The Endurance Finish is a stronger satin finish that we now recommend for cabinetry, table tops and other surfaces that endure heavy use.  It is non-yellowing and, as with all of our products, safe to use indoors.  (Instructions for use)
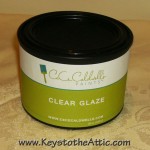
Clear Glaze
The Clear Glaze is generally used as an enhancing technique, rather than a final finish.  It can be tinted with dry pigments, universal tints, or CeCe Caldwell’s Paints to achieve a desired color.  Or, it can be used clear to give a light sheen to decor that will not be handled regularly (i.e., picture frames).  (Instructions for use)

All of these items can be found at www.KeystotheAttic.com.  Check them out and let us know what you think!

And the winner is ~

Congratulations to Jaquelyn G. for winning the $25 Bubba’s gift certificate!  Enjoy Jaquelyn and let us know how it is.

Pay attention next week for the chance to win another gift certificate for another one of Fishtown’s fine establishments.

Also, (and this will be announced in its own post, as well), Keys to the Attic will have limited hours this weekend.  We will be open Saturday from noon until 4:00pm and closed on Sunday.  Our staff will be attending a CeCe Caldwell’s Paints Workshop.  The good news is that next week we will be back with lots of painting tips and tricks.  We love to share what we learn!

Great Cabinet Job, Pam!

Want to share a great project that one of my BFF’s (does anyone even use that anymore?) from high school did.  Pam was looking to change up her bathroom a little bit and decided to paint the cabinet.  Pam used CeCe Caldwell’s Michigan Pine ~ distressed ~ then finished up with the Satin Finish.  Here’s what Pam said when one of our other friends asked what she did to prepare:

“I did not do any prepping other than taping and removing hardware. I just winged it and started painting. It dries very dull, chalk like, but then the satin finish I applied, changed that look. I literally completed this in less than 2 hours.”

Great job, Pam!!


Before & After ~ Alaskan Tundra Green End Table

A few weeks back a purchased this single, beat up end table at a thrift store that I just knew had promise.

www.KeystotheAttic.com

Great for a chalk & clay paint project!

Though it was quite beat up and drab, it was in very sturdy condition.  So, I got the paint brushes out and went to town.  I used Alaskan Tundra Green for the body and Omaha Ochre for the drawer and stenciling.  Some things to take note of about this piece is that the top was quite shiny and the other areas were a mix of shiny and wear.  If I had to start over again, I have to say that I may have sanded this baby down just a little bit prior to painting – nothing extreme, but just a little once over.

I waxed the entire table, with the exception of the top and two shelves.  I ended up doing a satin finish on those because I wanted to seal in my stencil work.  When I waxed the shelves, some really strange patterns took place and it looked like the Satin Finish was literally wiping off the paint.  So, I just walked away and ignored it (very calmly, I might add).

www.KeystotheAttic.com

Satin Finish acting weird.

Thank goodness, when I came back later – after the Satin Finish had completely dried – it looked totally normal.  Whew!  And this is my After picture 🙂

www.KeystotheAttic.com