Category Archives: Upholstery

Upholstery Class Update ~ 5/7/2013

I thought it would be a good idea to give you an update on my last upholstery class before the next class (tomorrow night).

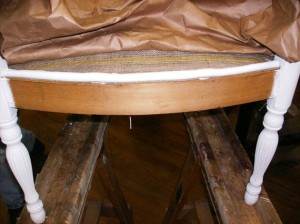
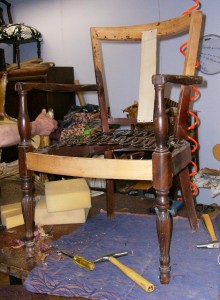
So, we started this night by stapling on some padded ribbing to the front of the chair.  This is so when you sit, the underside of your knees don’t hurt from the edge of the wood.

www.KeystotheAttic.com


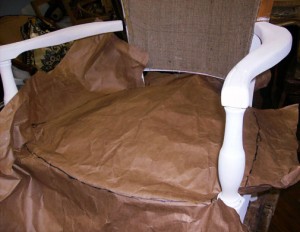
The next step was super easy.  I simply laid paper over the seat of the chair and traced.  The traced paper is what will be used to cut the foam.

www.KeystotheAttic.com


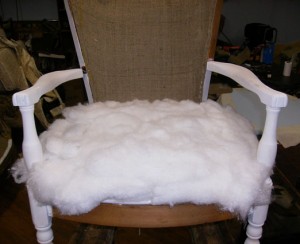
Next, I laid down stuffing – lots of stuffing on the chair.  When I put the stuffing down, it sort of looked like it was kinda high, but not the case.  The important thing to remember here is that you have to pat the stuffing down all over to make sure there aren’t any holes.  The stuffing needs to feel even to the touch.

www.KeystotheAttic.com


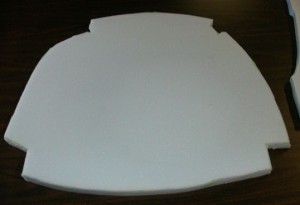
Time to cut the foam.  The neatest trick to this is that we cut the foam using an electric Meat Cutter!  Yep, that thing that you use to slice up a ham, roast or turkey … so cool!!

www.KeystotheAttic.com


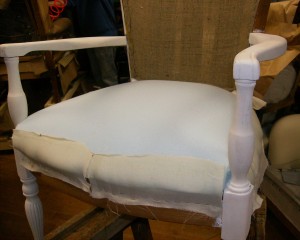
After placing the foam on top of the stuffing, I took scraps of burlap and  secured the foam to the seat of the chair using an adhesive spray.  This was pretty easy, but messy.  Then stapling the bottom of the burlap strips to the chair frame.

www.KeystotheAttic.com


I ended the night by measuring the width and length of the seat and cutting my fabric.  Tomorrow night I’ll start putting the fabric on the chair 🙂

Upholstery Class Update – 04/30/2013

I’m a little late with my upholstery class update … forgive me … I have been busy selling furniture and paint and candles, but the real reason is that I didn’t know how to upload pictures from my super duper cell phone (that has 1001 different functions and I don’t know how to use any of them – but that’s a story for another day) that I think I pay way too much money for.

Anyway, I finally broke down and called T-Mobile and made a customer service rep walk me through this process like I’m in 2nd grade. (Note: I’ve had T-Mobile for, like, forever and I can honestly never complain about their customer service.)  And, now, I can proudly say that I know how to get pictures off of my phone.  Yeah!!!

Moving on to my upholstery class … The frame has been stripped of everything, but last time I left you we had to replace two of the springs (these are called Serpentine Springs – the long springs that go across the seat) because they were weak.
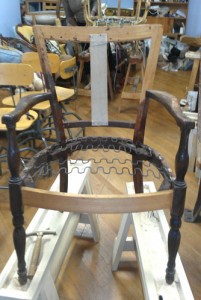
www.KeystotheAttic.com

My naked chair with new serpentine springs.

After putting the new springs in, we gave them some extra security and Umphh by doing some spring ties.  FYI:  spring ties take quite a bit of muscle.  This is a picture mid-way through the stringing process:
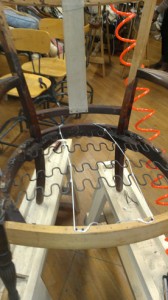
www.KeystotheAttic.com

I did a total of 4 string ties, but here are 2 of them … you start in the middle and work your way out.

The next step was to line the seat and back with burlap before we move on the stuffing.  At the end of last Tuesday’s class, I took my chair back to the store because I want to paint it white and distress it.  Easier to do at the store than bring the paint to the class.  I painted the parts of the chair that would end up being exposed, but I did not distress or put a finish on the paint.  I’m going to to do that once the reupholstery is done, so I can better judge where I want to distress.
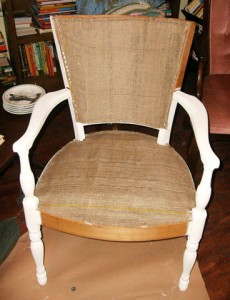
www.KeystotheAttic.com

So, this coming Tuesday, I will take the chair back and move on to the next steps.

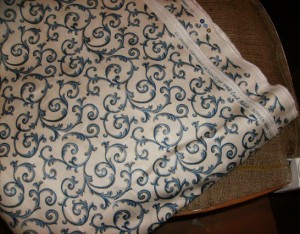
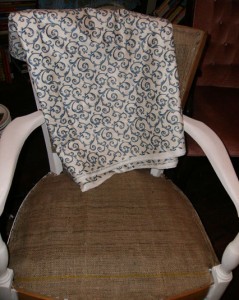
I did pick out my fabric for the chair (and you’ll be able to see why I painted the chair white).  Typically, I do not tend to lean toward the blue colors, but I really thought that this was pretty (and it was on sale).
www.KeystotheAttic.com

My fabric choice against the chair.

www.KeystotheAttic.com

Close up of my fabric.

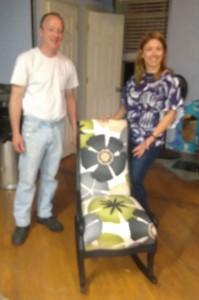
Before I take off, I want to share with you a beautiful piece done by one of my classmates.  She was able to finish her chair early, which is great because she gets to start on a new project for the rest of the class (yes, I’m jealous).  Here is Theresa and our awesome instructor, John, with her chair (sorry for the quality – or lack, thereof – of this pic … I am horrible with my phone camera … I will get better pics later):
www.KeystotheAttic.com

Natalie (classmate) and our instructor, John, with Natalie’s gorgeous chair.

Thank you, again, Portside Arts Center, for holding these classes … we LOVE them!


My Upholstery Class

A couple of weeks ago, I started an upholstery class at the Portside Arts Center.  I am so excited about this for a few reasons.  First, I’ve always wanted to learn how to do upholstery.  In my flea market and yard sale travels, I come across so many stools, chairs and small love seats that I love and can just envision in my house if only it were cleaned up.  Second, I need to clean up and reupholster these very same items that I ended up buying anyway for the time that I learned how to reupholster (trust me, there’s lots of stuff down there).  Finally, it thrills me to be able to pick out fabrics in colors and styles that I like and will blend in my rooms – this makes the possibilities endless.

Much to my delight, Portside Arts Center offers upholstery classes at an extremely attractive price and … they’re right down the street from my house!  So, I thought that I would take you along on the journey of my 10 week class and, as much as I can,  share with you my experience and progress.

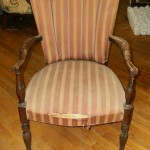
This is the chair that I decided to reupholster.  This chair has been in my mom’s basement forever – as you can clearly see.

Remember that I started this class two Tuesdays ago, so the first two classes consisted of completely stripping the chair of its fabric, stuffing and support straps – right down to the frame.  This meant removing all of the nails, tacks and staples that was holding all of this stuff together.  Our classes run from 6pm until 9pm and, for most of us, it took the entire first class and part of the second to do this.  Lots of muscle work!

This is  my “naked” chair.  You can see the zig zag springs in the seat section that are used to support the stuffing that is used for the seat.  There were four springs there, but two of them had lost their uumph and will need to be replaced.  I forgot to take a picture of the old stuffing that I ripped out of the chair, but I can tell you that it was layers of straw, cotton and horse hair stuffing.  And it was old and gross.

2013_UpholstryClass_Stripped1

Next week I will share with you my next steps and I will take a picture of the fabric I bought to recover my chair.

Before I take off, I want to give a shout out to Portside Arts Center!  This is a fantastic asset to our neighborhood and I am so lucky to have them 5 minutes from my house.  They are a non-profit, 501 (c)(3) community-based educational arts center run by a lovely woman named Kim Creighton.  The Portside offers more than 60 different music, visual and performing arts classes to children, teens and adults.  Check out their website at:  www.portsideartscenter.org