
I’m a little late with my upholstery class update … forgive me … I have been busy selling furniture and paint and candles, but the real reason is that I didn’t know how to upload pictures from my super duper cell phone (that has 1001 different functions and I don’t know how to use any of them – but that’s a story for another day) that I think I pay way too much money for.
Anyway, I finally broke down and called T-Mobile and made a customer service rep walk me through this process like I’m in 2nd grade. (Note: I’ve had T-Mobile for, like, forever and I can honestly never complain about their customer service.) And, now, I can proudly say that I know how to get pictures off of my phone. Yeah!!!
Moving on to my upholstery class … The frame has been stripped of everything, but last time I left you we had to replace two of the springs (these are called Serpentine Springs – the long springs that go across the seat) because they were weak.
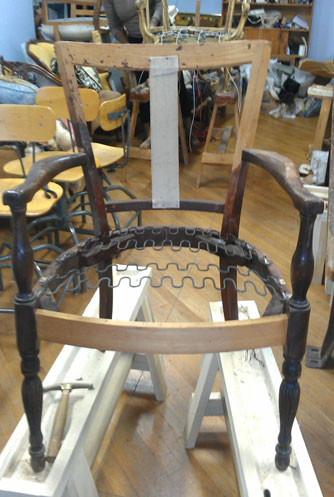
My naked chair with new serpentine springs.
After putting the new springs in, we gave them some extra security and Umphh by doing some spring ties. FYI: spring ties take quite a bit of muscle. This is a picture mid-way through the stringing process:
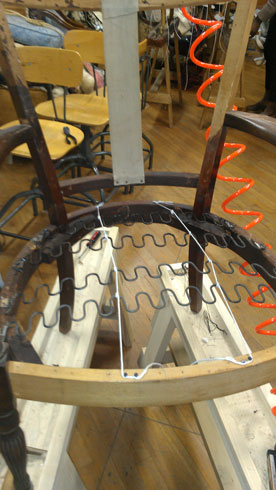
I did a total of 4 string ties, but here are 2 of them … you start in the middle and work your way out.
The next step was to line the seat and back with burlap before we move on the stuffing. At the end of last Tuesday’s class, I took my chair back to the store because I want to paint it white and distress it. Easier to do at the store than bring the paint to the class. I painted the parts of the chair that would end up being exposed, but I did not distress or put a finish on the paint. I’m going to to do that once the reupholstery is done, so I can better judge where I want to distress.

So, this coming Tuesday, I will take the chair back and move on to the next steps.
I did pick out my fabric for the chair (and you’ll be able to see why I painted the chair white). Typically, I do not tend to lean toward the blue colors, but I really thought that this was pretty (and it was on sale).
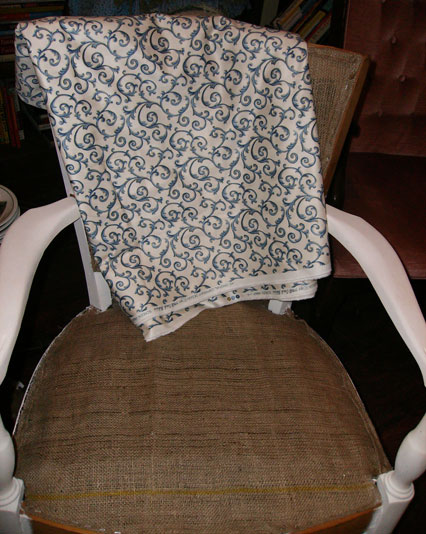
My fabric choice against the chair.
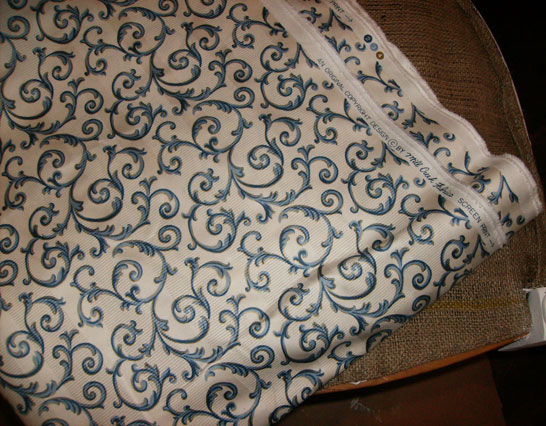
Close up of my fabric.
Before I take off, I want to share with you a beautiful piece done by one of my classmates. She was able to finish her chair early, which is great because she gets to start on a new project for the rest of the class (yes, I’m jealous). Here is Theresa and our awesome instructor, John, with her chair (sorry for the quality – or lack, thereof – of this pic … I am horrible with my phone camera … I will get better pics later):
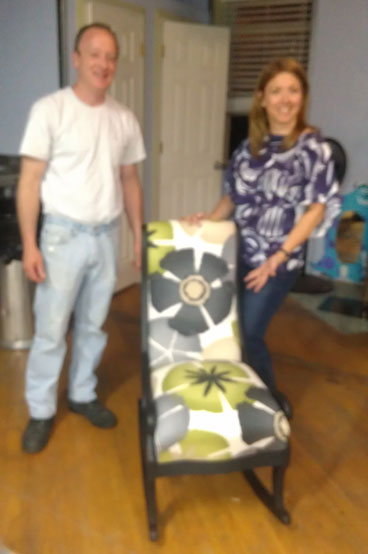
Natalie (classmate) and our instructor, John, with Natalie’s gorgeous chair.
Thank you, again, Portside Arts Center, for holding these classes … we LOVE them!