Monthly Archives: May 2013

Great Cabinet Job, Pam!

Want to share a great project that one of my BFF’s (does anyone even use that anymore?) from high school did.  Pam was looking to change up her bathroom a little bit and decided to paint the cabinet.  Pam used CeCe Caldwell’s Michigan Pine ~ distressed ~ then finished up with the Satin Finish.  Here’s what Pam said when one of our other friends asked what she did to prepare:

“I did not do any prepping other than taping and removing hardware. I just winged it and started painting. It dries very dull, chalk like, but then the satin finish I applied, changed that look. I literally completed this in less than 2 hours.”

Great job, Pam!!


Before & After ~ Alaskan Tundra Green End Table

A few weeks back a purchased this single, beat up end table at a thrift store that I just knew had promise.

www.KeystotheAttic.com

Great for a chalk & clay paint project!

Though it was quite beat up and drab, it was in very sturdy condition.  So, I got the paint brushes out and went to town.  I used Alaskan Tundra Green for the body and Omaha Ochre for the drawer and stenciling.  Some things to take note of about this piece is that the top was quite shiny and the other areas were a mix of shiny and wear.  If I had to start over again, I have to say that I may have sanded this baby down just a little bit prior to painting – nothing extreme, but just a little once over.

I waxed the entire table, with the exception of the top and two shelves.  I ended up doing a satin finish on those because I wanted to seal in my stencil work.  When I waxed the shelves, some really strange patterns took place and it looked like the Satin Finish was literally wiping off the paint.  So, I just walked away and ignored it (very calmly, I might add).

www.KeystotheAttic.com

Satin Finish acting weird.

Thank goodness, when I came back later – after the Satin Finish had completely dried – it looked totally normal.  Whew!  And this is my After picture 🙂

www.KeystotheAttic.com


Great Job, Noreen!

Here are some Before & After shots from one of my CeCe Caldwell’s Paints customers. Noreen used Vintage White over this old buffet and brought it back to life. Great job, Noreen … and keep the pictures coming! I just love to see Before & After photos of people’s projects 🙂

What’s New – 5/15/2013

Check out some of the new stuff that we got in this week.

For questions or pricing, please contact us at: [email protected] or 267.324.3681.

Upholstery Class Update ~ 5/7/2013

I thought it would be a good idea to give you an update on my last upholstery class before the next class (tomorrow night).

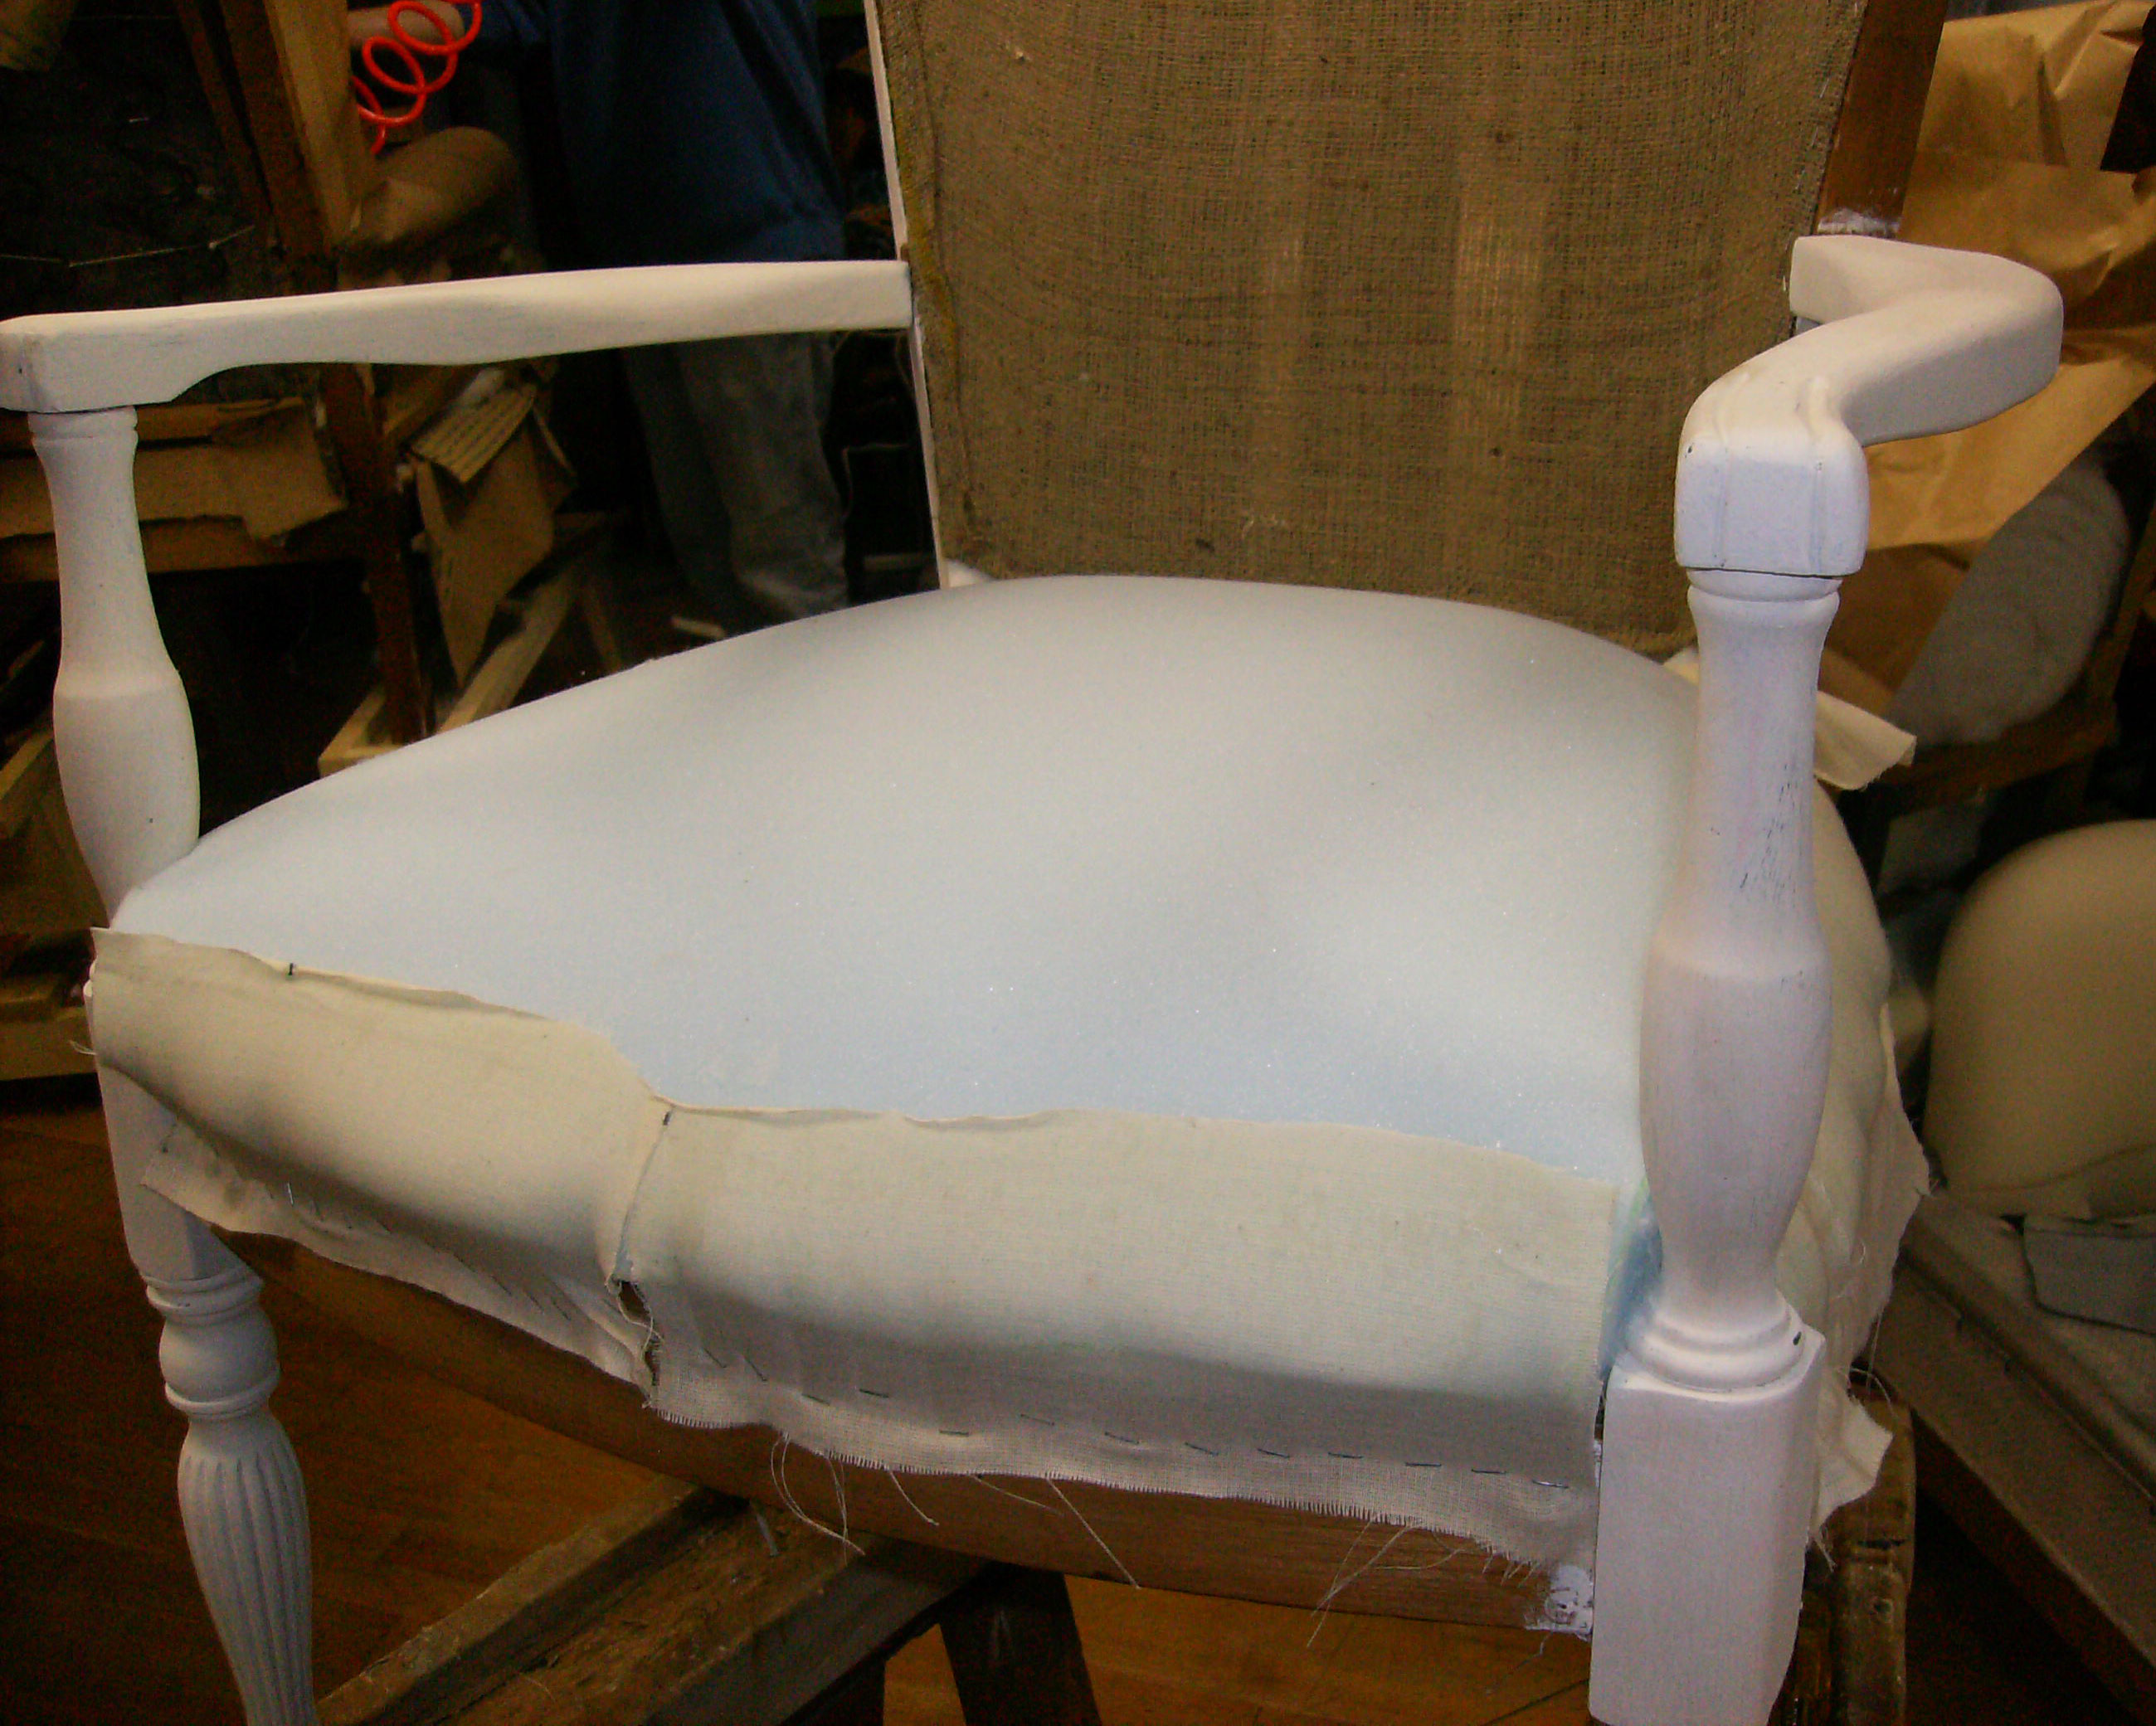
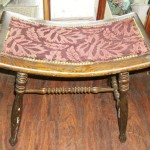
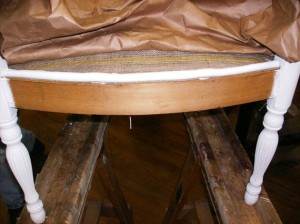
So, we started this night by stapling on some padded ribbing to the front of the chair.  This is so when you sit, the underside of your knees don’t hurt from the edge of the wood.

www.KeystotheAttic.com


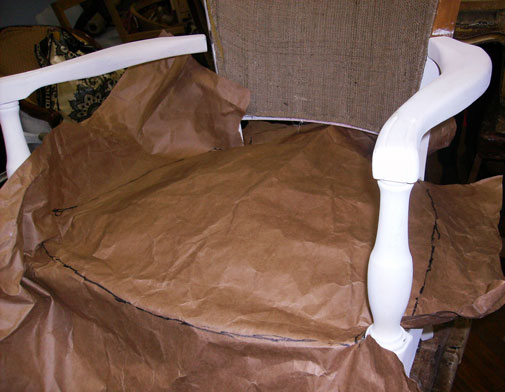
The next step was super easy.  I simply laid paper over the seat of the chair and traced.  The traced paper is what will be used to cut the foam.

www.KeystotheAttic.com


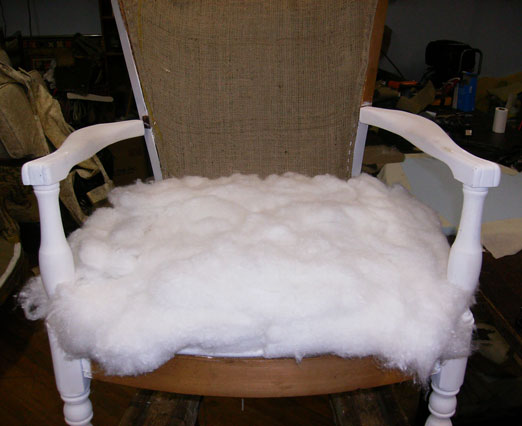
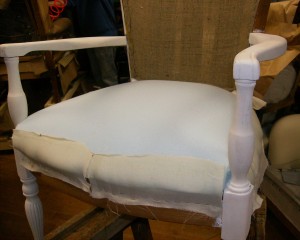
Next, I laid down stuffing – lots of stuffing on the chair.  When I put the stuffing down, it sort of looked like it was kinda high, but not the case.  The important thing to remember here is that you have to pat the stuffing down all over to make sure there aren’t any holes.  The stuffing needs to feel even to the touch.

www.KeystotheAttic.com


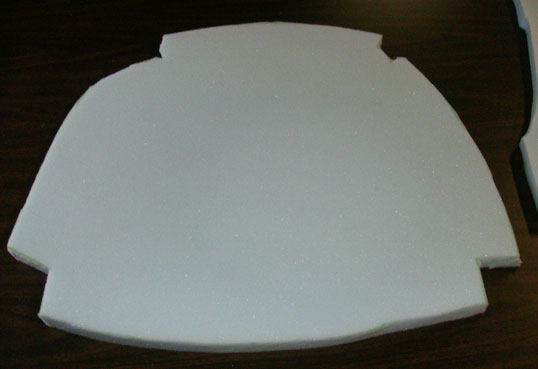
Time to cut the foam.  The neatest trick to this is that we cut the foam using an electric Meat Cutter!  Yep, that thing that you use to slice up a ham, roast or turkey … so cool!!

www.KeystotheAttic.com


After placing the foam on top of the stuffing, I took scraps of burlap and  secured the foam to the seat of the chair using an adhesive spray.  This was pretty easy, but messy.  Then stapling the bottom of the burlap strips to the chair frame.

www.KeystotheAttic.com


I ended the night by measuring the width and length of the seat and cutting my fabric.  Tomorrow night I’ll start putting the fabric on the chair 🙂

Before & After Wall Shelf ~ Spring Hill Green

This is a big, ugly, black wall shelf with multiple layers of crappy paint on it.

www.KeystotheAttic.com

Big, ugly wall shelf with multiple layers of crappy paint on it. 

So, I was in the mood for a happy, warm weather color and decided to test the Spring Hill Green.  Now, you all know the drill – paint, distress, wax, buff.  But, the interesting thing with this project is that after painting the shelf with two thin layers of paint (the paint was very slightly watered down), I decided to wax immediately after the second coat dried to test a theory.  So, I did not do any distressing and immediately waxed.  What happened is that while waxing, the shelf distressed itself!  This gave it a sort of distressed, washed look.  I think this is super neat for projects that don’t demand a definite look because you can kinda play around and just see what happens.  Fun!

www.KeystotheAttic.com

Shelf painted with CeCe Caldwell’s Spring Hill Green and finished with Clear Wax.

What’s New – 5/8/2013

Check out some of the new stuff that we got in this week.

For questions or pricing, please contact us at: [email protected] or 267.324.3681.